baking

Banana Tahini Bread

Banana bread just hits the spot sometimes, right? Right.

Nut Free Banana Tahini Bread

Nut Free Banana Tahini Bread

It’s easy to understand why banana bread is so universally loved; When done right, the texture has an inviting richness, with a smooth banana taste throughout. It begs you to take the next bite. The tahini in this recipe adds an earthy depth to the banana bread, which I absolutely adore. It’s hearty. It’s flavorful. It’s well balanced on the sweet/unsweet scale. It’s almost confusing… you’ll want to savor a slice of it, and yet shove it in your mouth as fast as possible. Yeah, it is that good.

banana tahini bread

banana tahini bread

I cut myself a slice yesterday, toasted it and smeared on some butter and flake salt. The melty chocolate chips with the salted butter was a revelation! Give this one a try. You won’t regret it. Most recently I’ve been making this with fairly bruised, but not super ripe bananas and I might prefer it! The result is a slightly less sweet but equally delicious loaf. This recipe is dairy free and nut free, and can easily be made vegan by substituting flax eggs for eggs. It packs up beautifully in a lunchbox, and you can serve this any time of day.

Banana Tahini Bread ingredients

I’ve made this multiple times, both with and without chocolate chips, and no surprise, my kids usually vote to include the chocolate chips.

If you make this, tag @lalalunchbox #lalalunchbox so that I can marvel at its beauty!

mashed banana

mashed banana

Banana Tahini Bread

3 ripe bananas + 1 banana for the top (optional)
1/4 cup tahini, well stirred 
1/4 cup coconut oil
3 tablespoons oat milk (you can use any milk here)
3 tablespoons maple syrup
2 large eggs
2 teaspoons vanilla extract
1/2 teaspoon apple cider vinegar 
1 teaspoon cinnamon 
1/2 teaspoon salt
1 teaspoon baking soda
1 1/4 cups whole wheat flour 
1/2 cup chocolate chips (optional) 

  • Preheat the oven to 350 F and grease a loaf pan with neutral oil.

  • Mash 3 very ripe bananas against the side of a large bowl. Add the wet ingredients to the bowl: tahini, coconut oil, oat milk, maple syrup, eggs, vanilla extract and apple cider vinegar.

  • Mix thoroughly. I always make sure to leave some lumps of banana, because that’s how I prefer it, but you can use a mixer if you prefer a smoother textured bread.

  • Add the cinnamon, salt and baking soda and stir gently.

  • Slowly add the flour, and continue to stir gently until it is fully combined.

  • Add the optional chocolate chips and give it one final mix.

  • Pour into your prepared loaf pan.

  • Slice the 4th banana in half lengthwise. Place each half on the top of the bread before baking.

  • Bake for 50-55 minutes, or until a tester comes out clean.

*to make this recipe vegan and egg free, replace the two eggs with 2 tablespoons of flax meal mixed thoroughly with 6 tablespoons of water. Let that sit for at least 5 minutes before adding to the batter.

*to make these into muffins, simply adjust the time. Bake for 20-25 minutes for regular sized muffins. To make these into mini muffins, bake for 12-16 minutes.

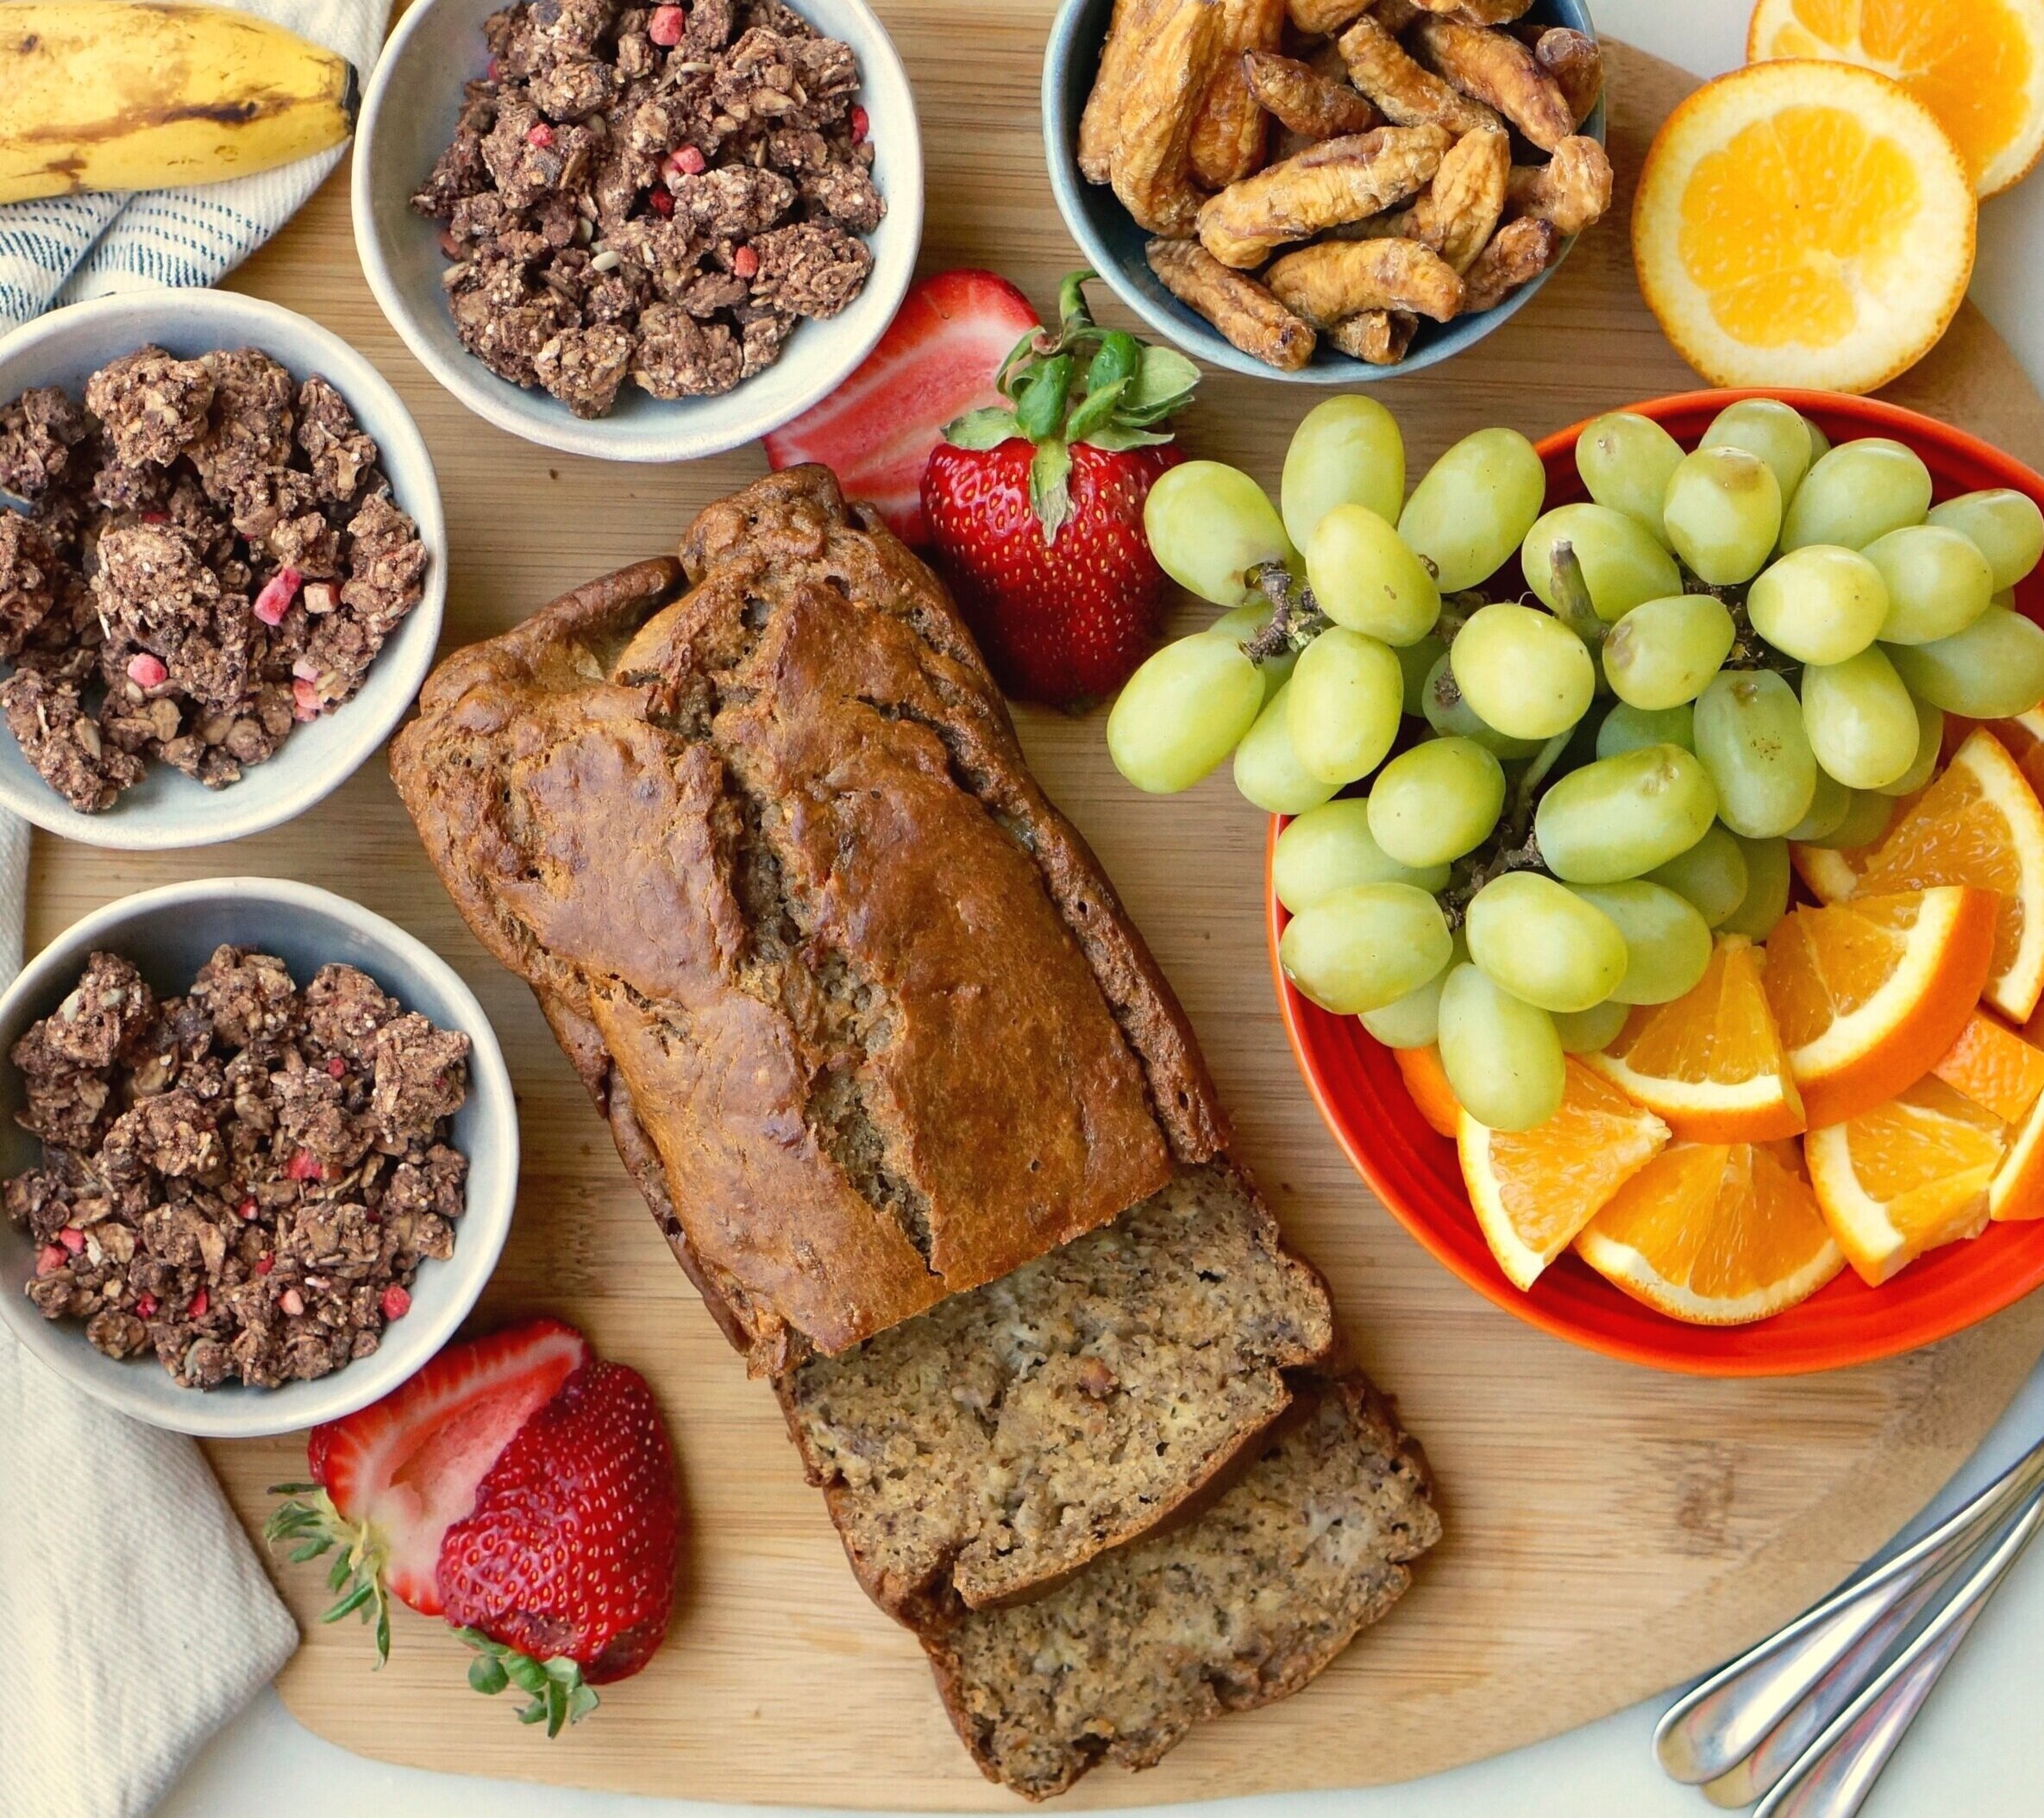
Banana Tahini Bread ready to bake

Dulce de Leche Birthday Cake

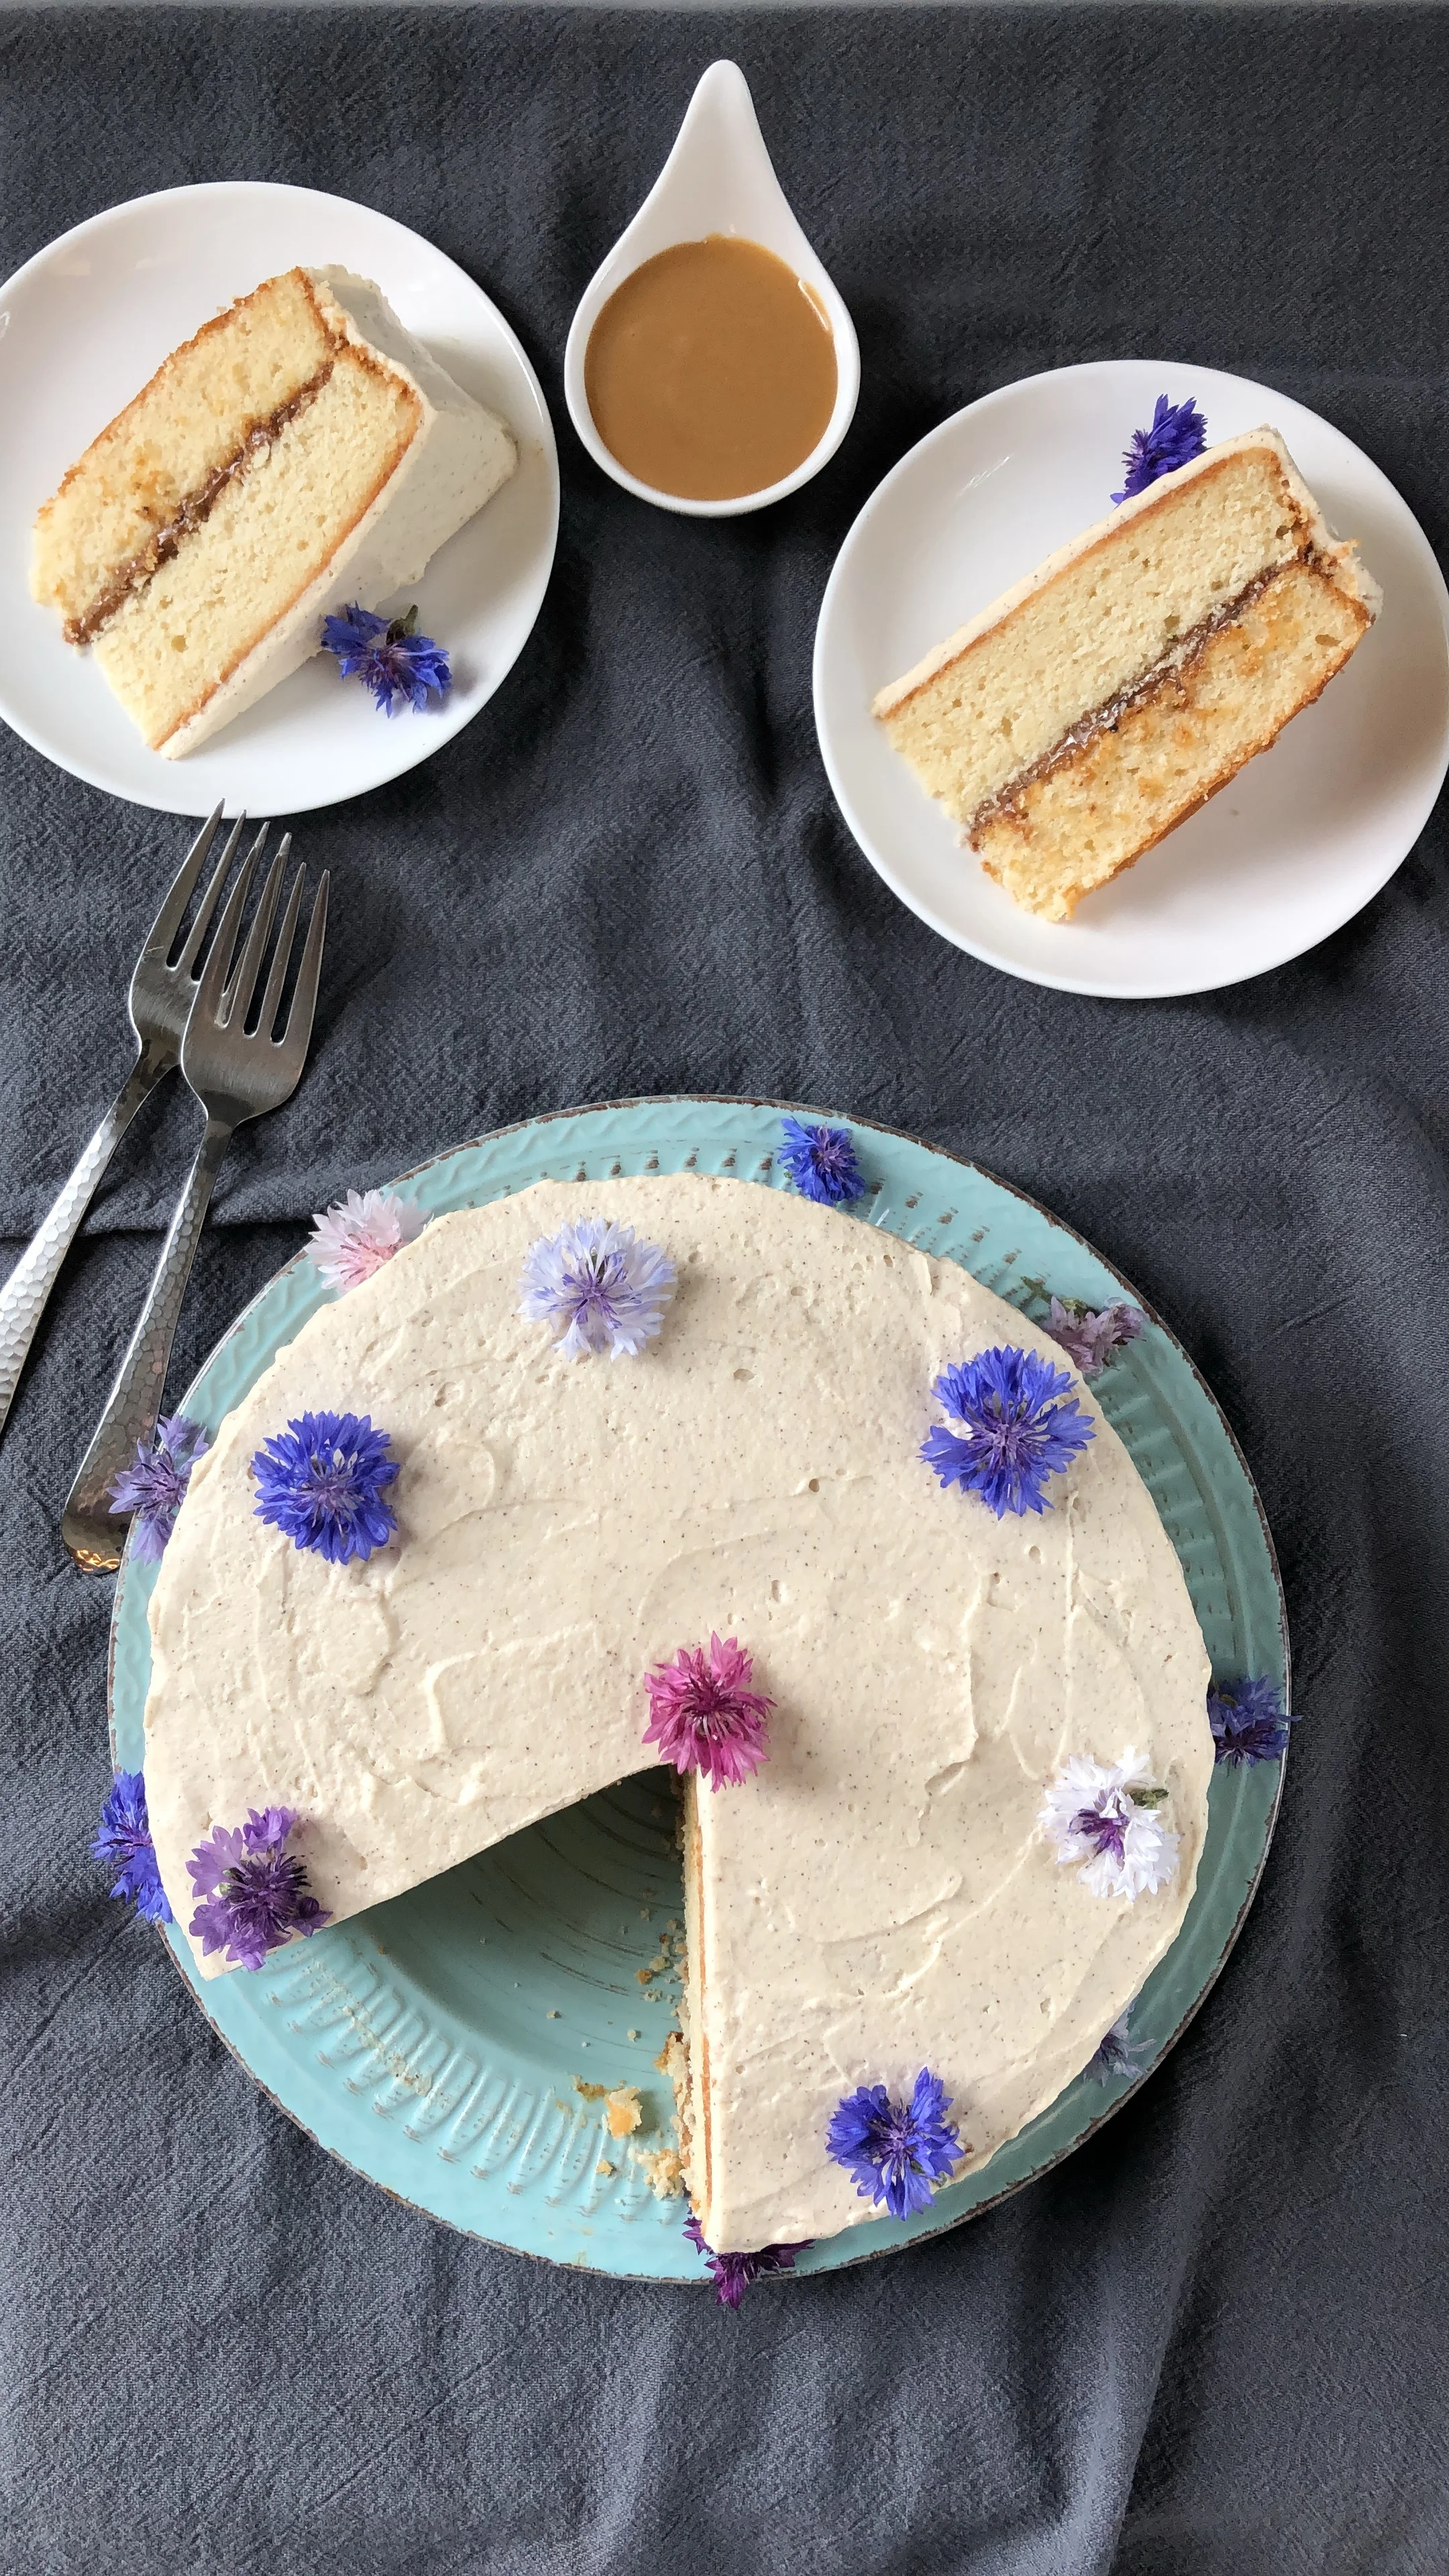
Dulce de Leche cake with Spiced Whipped Cream

I like to bake. I like to cook. The two things are not the same for me, though. When I cook, I don't usually follow recipes to the T. To me, that's part of the fun. Cooking is an art that improves over time. Baking is different. Baking is a science, with measurements that need to be exact. I happen to like both, but I cook much more frequently than I bake. 

One thing I love to bake is birthday cake. Who doesn't love birthdays?! I don't usually love cake (why eat cake when you can eat cookies?) but I love celebrating. So when I was asked to make a Dulce de Leche cake by my friends' sweet son for his 12th birthday, I was happy to oblige. 

The problem was, I had never made a dulce de leche cake. And I don't actually love dulce de leche, as it's usually too sweet for me. Still, I perused recipes. I reached out to folks on Instagram. And I tested several recipes. Would dulce de leche go better with a white cake or a chocolate cake? I had to find out. Ultimately I decided to go with white cake, and I used a tried and true recipe that my mother shared with me ages ago. (recipe below)

dulce de leche

As for the dulce de leche, I made my own. Dulce de Leche is a creamy caramel sauce made from milk and sugar. You can speed up the process (which takes 7 hours!) by using sweetened, condensed milk and heating it for a long time until it caramelizes. Several recipes suggested that I boil the can - the whole can, unopened - for 2-3 hours. Boiling the can sounded weird to me. Is that even safe? I didn't know, but I saw the same instructions in so many places, so I gave it a try. The outcome was great. A uniform caramel color with a creamy sweet deliciousness. Still, the idea didn't sit well with me. I didn’t feel safe about it  

I wondered if I could get the same result by slow cooking condensed milk without using the can. I found several sources that suggested I could pour sweetened condensed milk into an 8x8 pan and put that dish inside of a 9x13 pan filled 3/4 of the way up with water. I placed it into an oven preheated to 400 degrees and cooked it for 90 minutes, stirring occasionally, until it became dulce de leche. When the cooking process was done, I whisked vigorously. The outcome wasn't uniformly colored, and there were some bits of condensed milk that became small clumps. At first I was disheartened by this. But ultimately I realized it's these small bits that make the texture interesting. They give life to the dulce de leche. So I went with it. 

Whipped cream frosting for the dulce de leche cake

I used the dulce de leche as the glue that held the two cake layers together, and also in the frosting. Instead of going with a buttercream frosting or anything that required confectioners sugar, I went with a whipped cream frosting. (recipe below) The results were fabulous! This cake went over so well, and frankly, I was relieved. I will absolutely make this again!

White Cake (makes two layers) 

  • 1 cup butter
  • 1-1/2 cups sugar (divided)
  • 1 teaspoon vanilla extract
  • 3 cups all-purpose flour
  • 1 tablespoon baking powder
  • 1/2 teaspoon salt
  • 1-1/4 cups milk
  • 5 large egg whites

Preheat the oven to 375 degrees. Grease the sides and bottom of two 9 inch cake pans. In a large bowl or an electric mixer beat the butter and 1-1/4 cups of the sugar until the mixture is smooth and creamy. If your butter is already at room temperature, you can do this by hand. Add the vanilla extract. In a separate bowl, combine flour, baking powder and salt. Add the flour mixture to the butter mixture in parts, alternating with the milk and gently mixing after each addition. In another bowl, beat the egg whites until they stand in soft peaks. Still beating, gradually add the remaining 1/4 cup sugar and beat until the mixture stands in stiff peaks. Gently fold the beaten egg whites into the batter. Pour the batter into the prepared cake tins. Bake about 32-34 minutes or until a cake tester inserted into the center comes out clean.
Let cool completely before taking out of the pan. Use a very sharp long knife to flatten the tops of each layer. Spread the dulce de leche generously on top of one layer and then place the second layer on top of that. Frost with spiced whipped cream and enjoy! Serve with extra dulce de leche on the side (optional) 

Spiced Whipped Cream
2 cups heavy whipping cream
2 teaspoons cinnamon
1/4 cup dulce de leche
pinch of salt

Using the whisk attachment of your standing mixer or a hand mixer, whisk the heavy cream on high until it begins to change form into whipped cream. Once you see that change, add the cinnamon, dulce de leche and salt and continue mixing until desired consistency. I prefer it well whipped, as I think it spreads best onto cakes. 

dulce de leche cake

Olive Oil Lemon Cake with Blueberries and Ricotta

olive oil lemon cake

I thought about making a pie today, in celebration of Pi Day (3/14). But truth be told, I'm not such a pie-making gal. It's the crust that intimidates me. My mom is a phenomenal pie maker. Her pies are the stuff of legend. She learned from her mom, who was also celebrated for her pies, with their perfectly balanced fruit fillings and their perfectly textured crusts. 

Not sure how or why I yearned to learn how to cook certain foods from my mom but not others. But that's how the cookie crumbled for me. So today, though I wanted to bake a pie, instead I baked a cake. 

I'm anxious for spring, so I wanted something light and fruity. Immediately I thought about an olive oil cake. I perused several recipes (like this one and this one) and then came up with my own.  

Without further ado, here's the recipe: 

ingredients

INGREDIENTS
1 cup whole milk ricotta
1/3 cup +2 tablespoons olive oil (I used a very fruity evoo)
3 large eggs
3/4 cup white sugar
Zest of 2 whole lemons
1 teaspoon vanilla extract
1 1/2 cups all purpose flour
1 1/2 teaspoons baking powder
1/2 teaspoon baking soda
1/4 teaspoon kosher salt
1 pint blueberries

METHOD

  • Preheat the oven to 350. Line the bottom of a springform pan with parchment and spray with a neutral oil.
  • Combine the ricotta, olive oil, eggs, sugar, lemon zest and vanilla extract. Don't overbeat... this can all be done by hand. 
  • In a separate bowl, add the dry ingredients (flour, baking powder, baking soda and salt). Slowly add the dry ingredients to the wet ingredients and stir until fully combined.
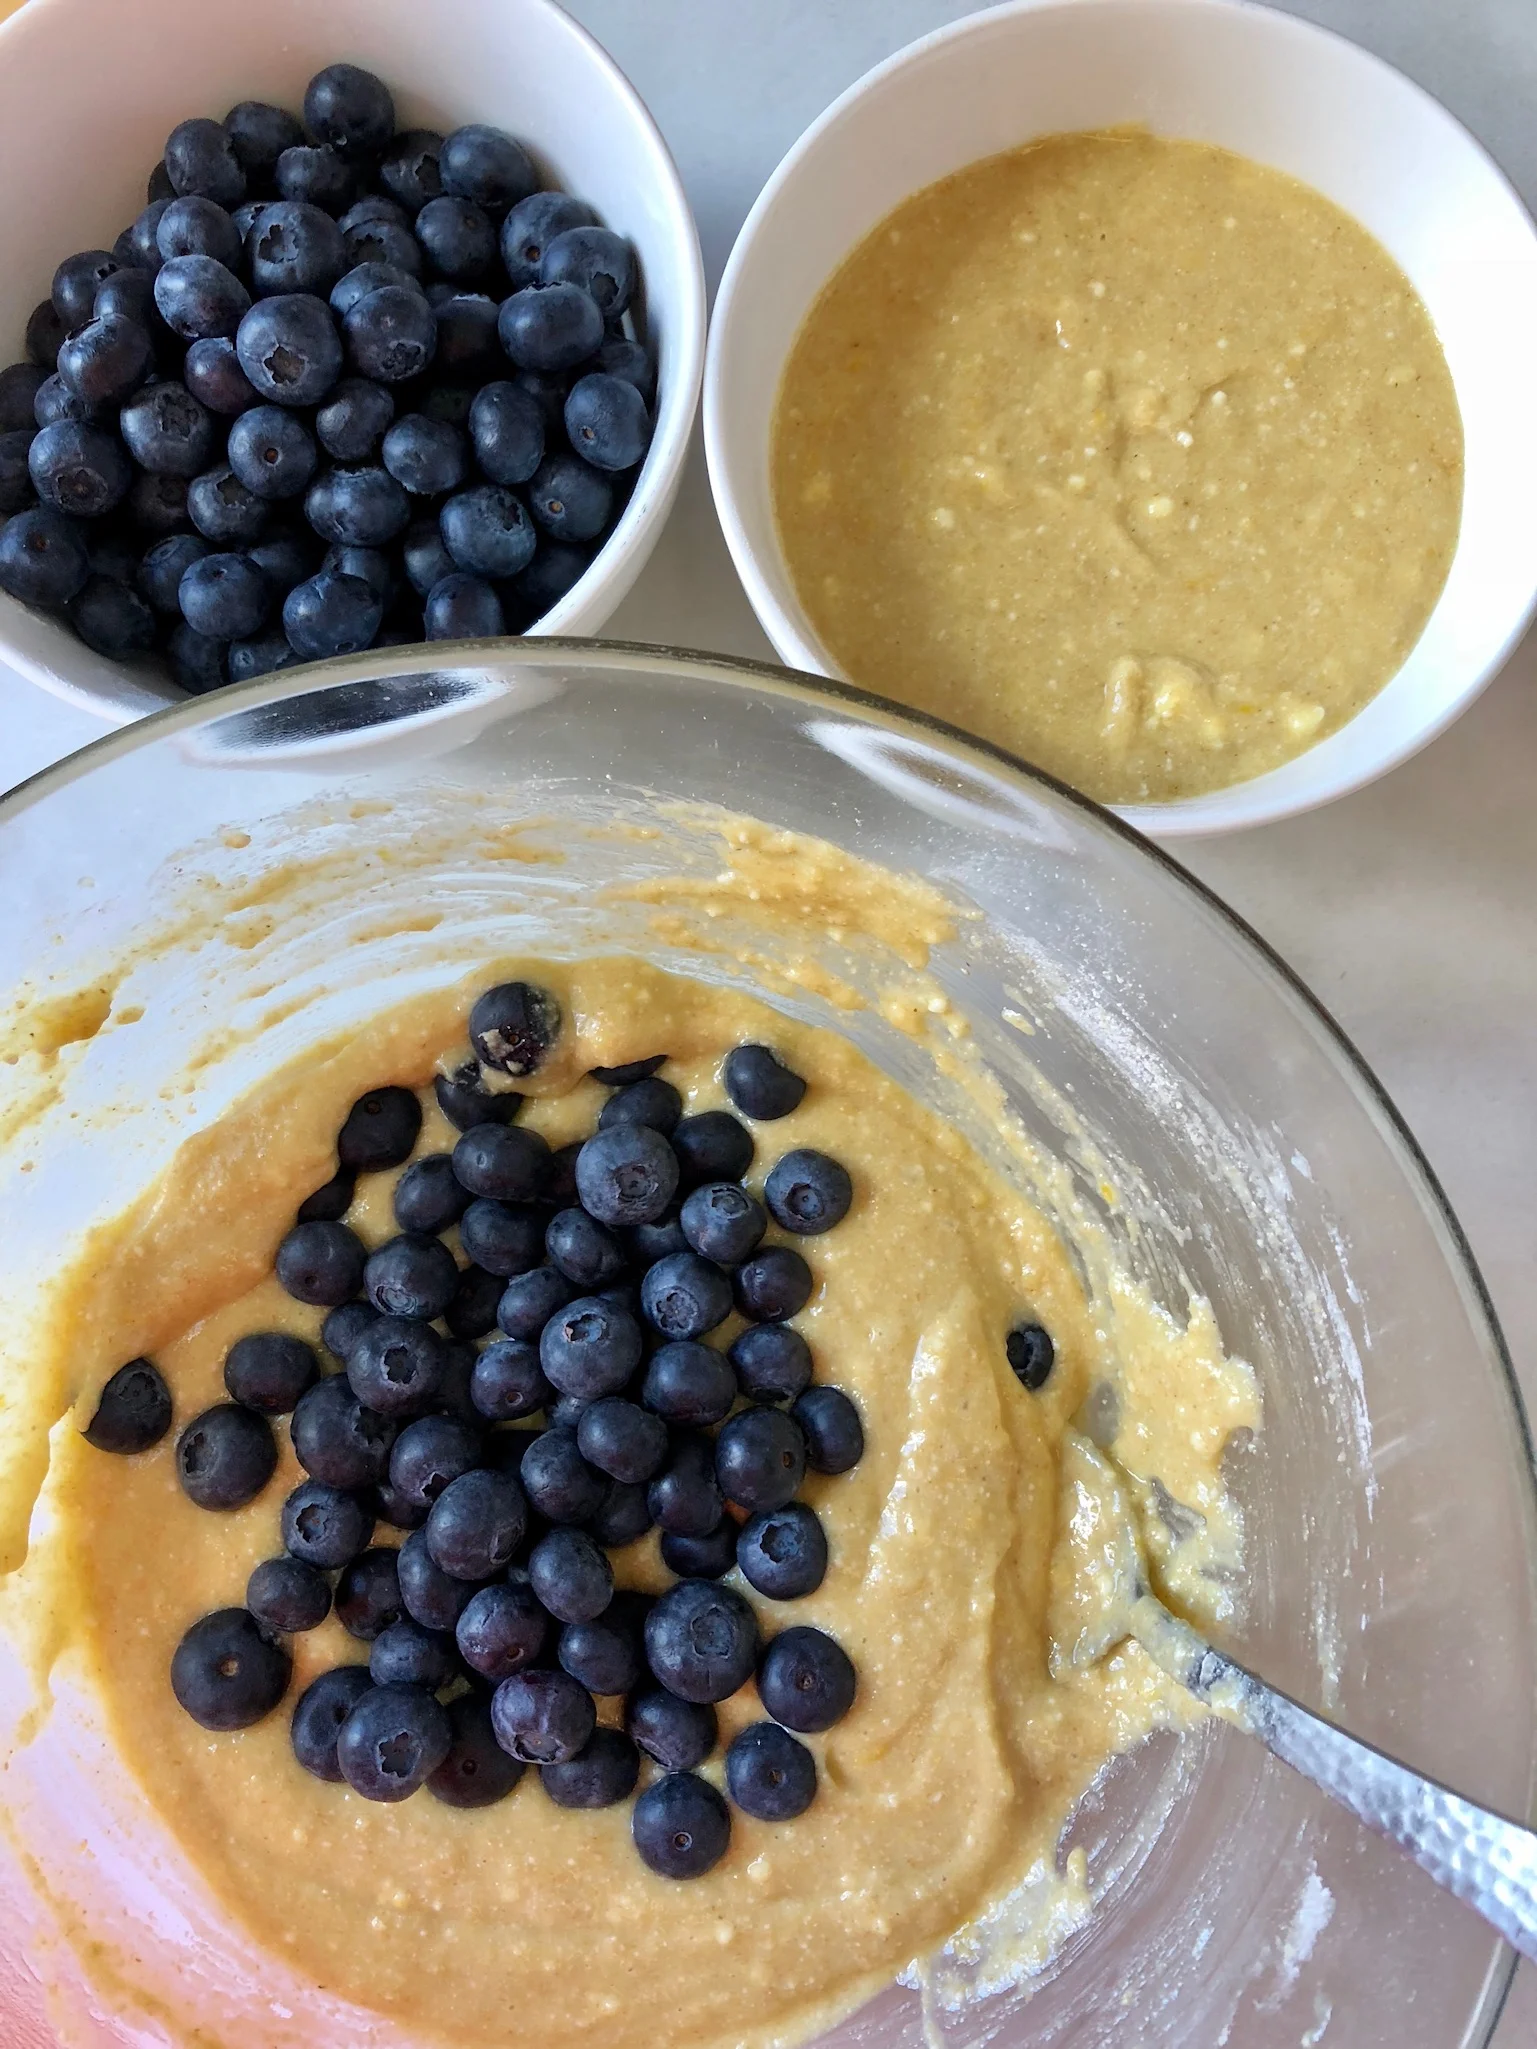
  • Next, get a clean bowl and pour in half of the batter. Add half of the blueberries to half of the batter. This will be the bottom of the cake. Pour this into your springform pan. 
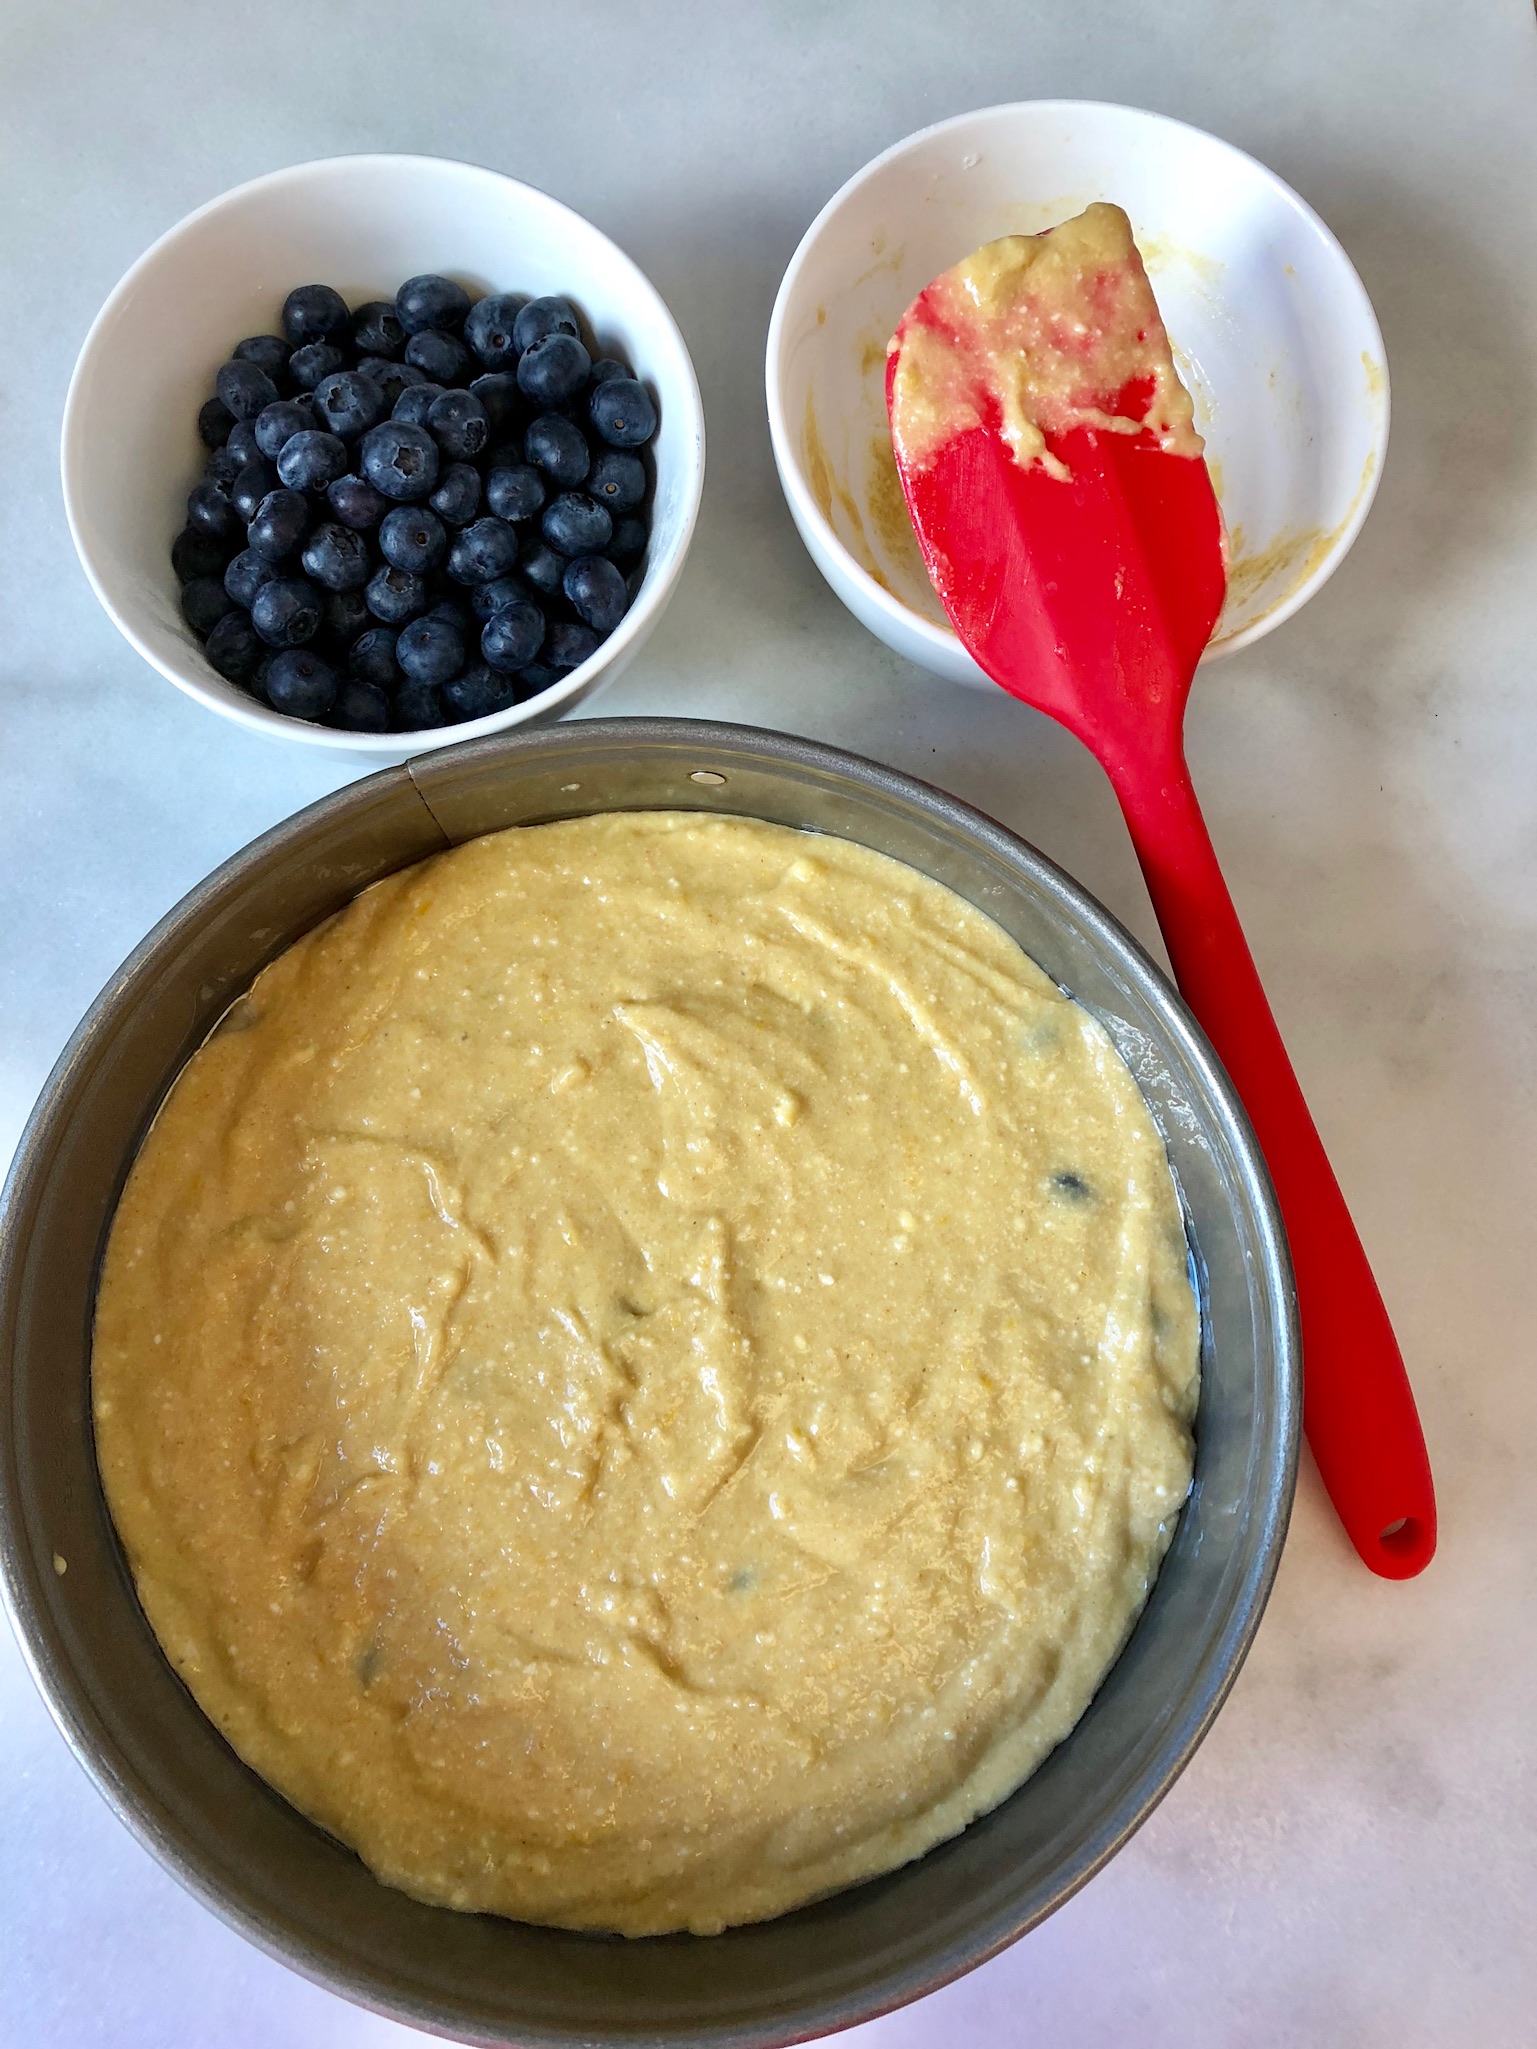
  • Add the remaining batter on top of this cake and decorate with blueberries as you'd like. 
  • If you'd like to make it easier, you can combine all of the batter and all of the blueberries. This method is best if you have a design in mind for the top. 
separate half batter and half berries
top with batter

When you have finished designing your blueberry top, bake for approximately 35 minutes. the top will be slightly golden brown and the texture inside will be moist and delicious. 

olive oil cake pre-baked

Once this is finished baking, set aside to rest and cool for at least 10 minutes. It's bright and satisfying, but not too sweet. The ricotta adds depth and the lemon zest and blueberries balance out the sugar. You'll absolutely notice a change in flavor with a change of olive oil in this cake. Experiment and see what you like best! Enjoy immediately, or savor it over the course of several days (if it lasts that long!) 

olive oil cake

Molasses Cookies

At some point in life, I realized that cookies wouldn't save the world. It was a devastating bit of reality. I have a dear friend who loves my mom's old recipe for Fannies and every time she's going through a rough spot, I whip up a batch for her. Today I prepared a batch of cookie dough for some loved ones going through a rough time and will deliver them tomorrow. As the first batch came out of the oven I wondered - why cookies? I love cookies but they're not exactly practical. They're not a wholesome meal that someone might need to endure the anxiety of a hospital waiting room. They're not some magic batch of fairies who will come clean the house. As I thought more about my cookie baking habits I realized - of course I intend for my cookies to provide comfort to those on the receiving end. But they're also very much about finding my own comfort. I bake because it gives me quiet time in the kitchen. It's an escape of sorts. And the gesture of giving cookies is, of course, a way of letting others know they are in my thoughts.  Perhaps it's also the hug that comes with cookie delivery... hugs, like cookies, don't solve most problems but they sure do make some moments brighter. 

Molasses Double Chocolate Cookies

Molasses Double Chocolate Cookies

Today's cookies are a modified version of the Molasses Triple Chocolate Cookies from Averie Cooks. These have been an amazing new discovery in my house and a definite keeper for the cookie repertoire. I made this version with coconut oil instead of butter and omitted the third chocolate and the rolled sugar step. Still yum! My hope is that they provide my loved ones with even just a moment of comfort and deliciousness. 

Molasses Double Chocolate Cookies (adapted from Averie Cooks) 

1/2 cup coconut oil
1 extra large egg
3/4 cup brown sugar, firmly packed
1/2 cup sugar
1/4 cup molasses
2 tablespoons grapeseed or vegetable oil
1/2 teaspoon vanilla extract
1 tablespoon unsweetened cocoa powder
2 teaspoons ground cinnamon
1 1/2 teaspoons ground ginger
1 teaspoon cloves
1/2 teaspoon salt
1 1/2 teaspoons baking soda
2 1/4 cups flour
3/4 cup chocolate chips (I like the 60% cocoa Ghiradelli)
 

Preheat the oven to 350. Combine oils, egg, sugar, molasses and vanilla together and mix thoroughly. In a separate bowl, combine dry ingredients: flour, cocoa powder, cinnamon, ginger, cloves, salt and baking soda. Slowly add dry ingredients to wet ones, being sure to incorporate well. Finally, add the chocolate chips and mix. Place balls of dough about 2 inches apart on baking sheet lined with parchment paper. Bake for about 9 minutes. Cool and enjoy!